10 Effective Tips for Eliciting the /r/ Sound in Speech Therapy
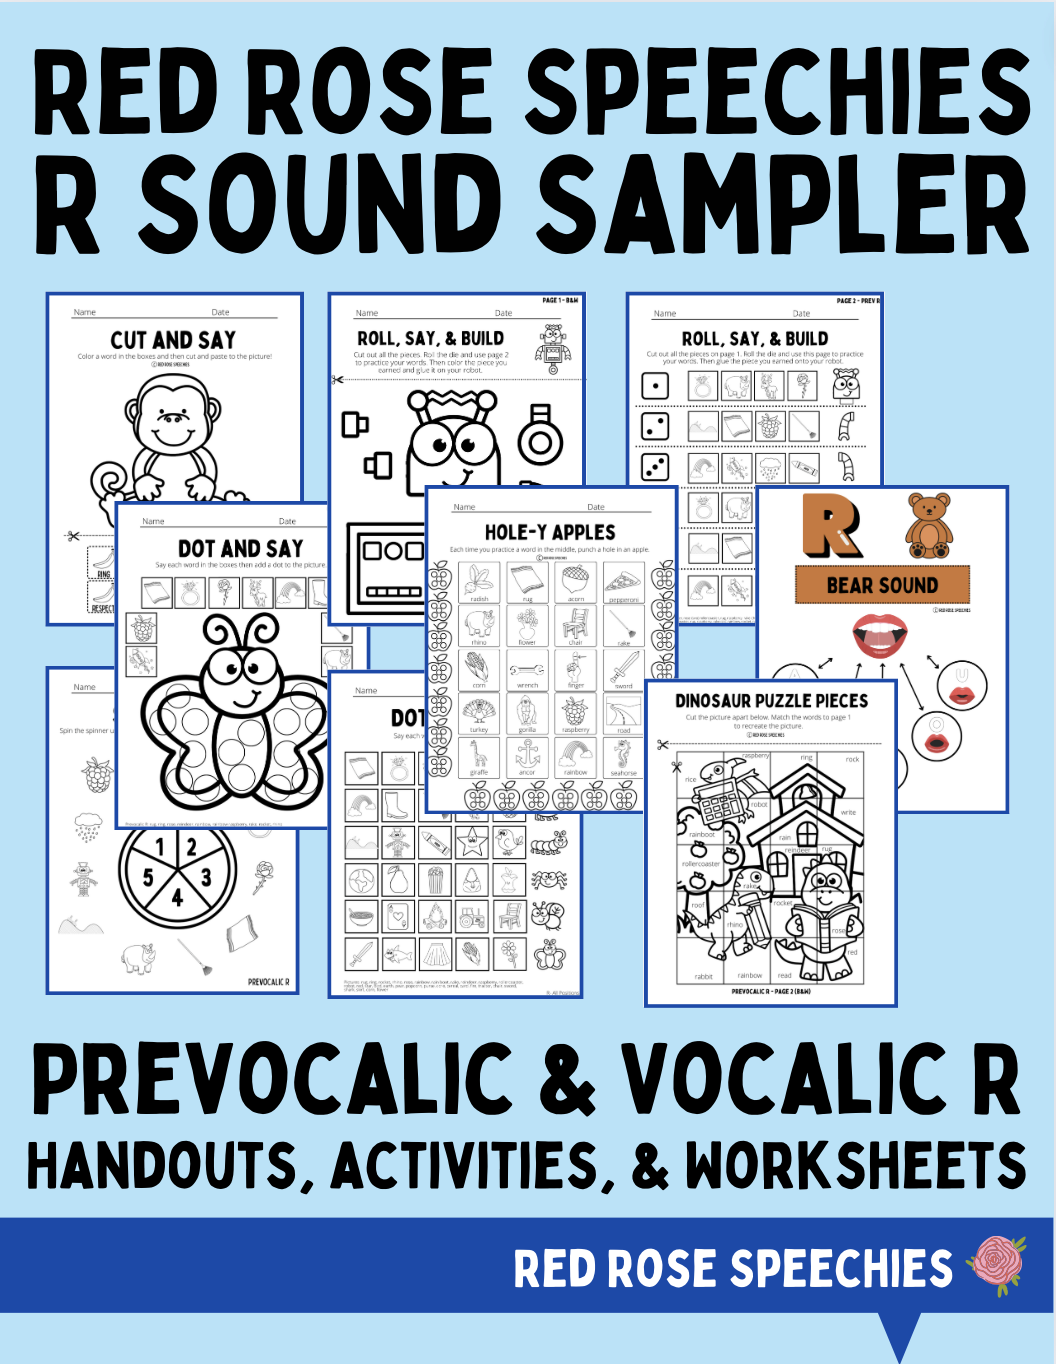
As a speech therapist, one of the common articulation challenges you might encounter is helping clients produce the /r/ sound correctly. The /r/ sound is notoriously difficult due to its varied positions and different pairings with vowels in articulation. Here are ten tips to make eliciting this tricky sound a bit easier and more effective. We hope these ideas help mix things up a little for you. Scroll to the bottom for an R packet FREEBIE to use with these new strategies.
1. Use a Dum Dums Sucker
Using a Dum Dums sucker can be a great tactile technique to show tongue placement. The flavor of the sucker heightens the senses, and you can use it to demonstrate where the back sides of the teeth and the roof of the mouth are. Have your client touch these areas with the sucker to better understand where their tongue should be placed.
2. Utilize the "World of R" Program
For older school-aged, middle school, or high school patients needing to completely start from the beginning on how to get tongue placement for each individual sound, I highly recommend the "World of R" program. This comprehensive workbook and screener combo is an excellent tool for systematically addressing the complexities of the /r/ sound. We cannot recommend this enough. (No affiliation, just a recommendation!) World of R Workbook & Screener Combo
3. Engage with "Talk Like a Pirate" from Peachie Speechie
"Talk Like a Pirate" from Peachie Speechie is a fantastic program for teaching the retroflex /r/ sound. The visuals are simple, the videos are easy to follow, and it's straightforward to teach. This is a great resource to keep things fun and engaging for your clients.
Talk Like a Pirate Product (No affiliation, just a recommendation!)
4. Focus on Auditory Discrimination
This is a great place to start /r/ therapy if you are feeling overwhelmed and don’t know where to begin. It's crucial that clients have a basis for what a correct and incorrect /r/ sound like. Start by having them identify your errors, and then move on to practicing producing correct vs. incorrect sounds themselves. This will help them become more aware of the nuances of the /r/ sound.
5. Turn Voiceless /k/ into Voiced /r/
Teaching tongue height can be simplified by turning the voiceless /k/ sound into the voiced /r/ sound. This method helps clients feel the difference in tongue placement and tension required for the /r/ sound. We recommend asking the client to repeat the /k/ sound 5-10 times then add one voiced /r/ at the end. k - k - k - k - k - k - rrrrrrrr.
6. Use the "Pretend to Poop" Technique
While it may sound unusual, pretending to poop can help teach the tension needed for the /r/ sound. The act of straining slightly can mimic the tongue tension required, making it easier for clients to grasp the correct articulation.
7. Lay on the Ground
Have your client lay on the ground to work on tongue placement. This position can help the tongue naturally fall into the back of the throat. Combine this technique with tip number 5, using /k/ productions to guide the tongue into the correct position.
8. Practice "Shhhh" and Glide the Tongue Back
Start with the client saying "shhhh" and then have them glide their tongue back. This can help teach the sides of the tongue to lift and create the correct height needed for the /r/ sound.
9. Use Minimal Pairs
Incorporate minimal pairs to highlight the differences between similar sounds. This can help clients fine-tune their auditory discrimination and production skills by contrasting words with and without the /r/ sound.
10. Teach Lip Placement with a Smile
For clients with severe gliding issues, teach them to smile while producing the /r/ sound. This can help with lip placement and retraction of the tongue, aiding in correct articulation.


